You can get the best system setup by carefully handling your PV solar inverter installation. More people are using solar energy now because it saves money and operates efficiently. As electricity costs continue to rise, solar has become increasingly popular. Many individuals choose to undertake their own PV solar inverter installation to save on expenses, while also aiming to generate their own energy.
You pay less for electricity when you use a solar power inverter.
You manage your own energy and rely less on the grid.
You protect yourself from high costs and blackouts.
Safety is paramount. Always check the orientation of your panels and adhere to best practices. This guide is designed to assist homeowners, DIY enthusiasts, and professionals alike. Avoid making mistakes by collaborating with a reputable solar installer or closely following the outlined steps.
Key Takeaways
Putting in a solar inverter can help you spend less on electricity. It also helps you use the grid less.
Pick the best inverter type for your roof and energy needs. This helps your system work well.
Use safety rules when you install to stop accidents. This also helps your system work its best.
Check and take care of your solar system often. This helps you find problems early and keeps it working well.
Ask a trained installer for help and advice. This helps you avoid mistakes and follow local rules.

PV Solar Inverter Installation Overview
What Is a Solar Power Inverter?
A solar power inverter helps you use energy from solar panels at home. Solar panels make direct current (DC) electricity when sunlight hits them. Most homes and businesses need alternating current (AC) electricity. The inverter changes DC power into AC power. It does this by switching the DC current on and off very fast. Then, it smooths the wave to match the grid’s power. This lets you use solar energy for lights, appliances, and devices.
Role in Solar Systems
The solar power inverter is very important in every solar system. You connect your solar panels to the inverter. The inverter sends electricity you can use to your home or business. It also keeps track of how much power you make and use. Some inverters work with batteries, so you can save extra energy for later. There are different types of inverters for solar inverter installation. Here is a table to help you compare them:
| Type of Inverter | Overview | Benefits | Drawbacks | Best Use Cases |
| String Inverters | Connects panels in series | Reliable, easy to install | Less flexible in shading | Unshaded roofs |
| Microinverters | One per panel, works independently | High efficiency, flexible | Higher cost | Shaded roofs |
| Power Optimisers | Panel-level optimization, central inverter | Detailed monitoring, affordable | Added complexity | Shading issues |
| Hybrid Inverters | Combines inverter and battery storage | Energy independence | Complex installation | Homes with batteries |
| Off-Grid Inverters | Works without the grid | Total independence | High setup cost | Remote areas |
Why Proper Installation Matters
You need to install your solar inverter the right way for safety and good performance. If you skip steps or make mistakes, you could get shocked or burned. You might also break your inverter or make the system stop working. Common problems include relay failures, overloads, and isolation issues. You must turn off the main power and wear safety gear before starting. A good installer puts the inverter at the right height and connects all wires correctly. Safe working helps you avoid injuries and falls. When you follow the pv solar inverter installation steps, you keep your system and home safe.
Tip: Always check your solar inverter installation for loose wires and good grounding before turning it on.
Pre-Installation Planning
System Sizing and Compatibility
Start by figuring out the size of your solar inverter system. The number of solar panels you use matters. Where you live also affects how much energy you get. Sunny places like Arizona make more solar power than Vermont. More sunlight means you get more energy. Look at your roof size, direction, and slope. These things help you know how many panels you can put up and what inverter size you need.
| Factor | Description |
| Size of Solar Array | The total power of your solar panels decides the inverter size. |
| Geography | Where you live changes how much solar energy you get. |
| Site-Specific Conditions | Roof size, direction, slope, and shade affect installation. |
| Array-to-Inverter Ratio | The DC power of panels compared to the AC power of the inverter affects how well it works. |
| Roof Area | The roof size limits how many panels you can install. |
| Orientation and Slope | The roof’s angle and direction change how much sunlight you get. |
Check the wattage of your solar panels. Make sure the inverter matches the panels. If they do not match, you lose energy. Your system will not work as well. When your panels and inverter work together, you get the most energy.
Choosing Inverter Type
You can pick from different inverter types. String inverters are good for big roofs with no shade. They cost less. Microinverters work better if your roof has shade. They help each panel work on its own. Hybrid inverters let you use batteries with solar power. Each type has good and bad points.
| Inverter Type | Advantages | Disadvantages |
| String Inverters | Cheap, easy to fix, work well if no shade | Shade hurts them, one bad panel can lower all power |
| Microinverters | Each panel works alone, flexible, easy to watch, ready for the future | Cost more, harder to install, harder to fix |
| Hybrid Inverters | Use solar and batteries, save money later, ready for new tech | Harder to install, cost more at first |
Pick the inverter that fits your roof, money, and energy needs. A good installer can help you choose.
Compliance and Permits
You must follow rules before you install your solar inverter. Most places need permits for building and electrical work. In the United States, you need permits for building, electrical, zoning, and the environment. In Europe, places like Spain and Portugal need building permits and grid agreements.
| Region | Common Compliance Requirements | Permitting Requirements |
| United States | Building, electrical, zoning, environmental | Local and state rules |
| Poland | Building permit, connection agreement | Needed for grid connection |
| Bulgaria | Building permit, grid access permission | Needed for grid use |
| Spain | Building permit, grid connection agreement | Needed for grid connection |
| Portugal | Building permit, connection agreement | Needed for grid use |
Get your paperwork ready. You need instructions and test reports. Always follow the local rules.
Selecting Installation Location
Pick the best place for your solar inverter. Choose a spot with enough roof space and no shade. Do not put panels under trees or buildings. South-facing panels work best. East or west-facing panels also make good energy. Match the tilt to your area, usually between 15 and 40 degrees. Put the inverter straight up or tilt it back at least 10 degrees. If your roof does not work, you can put panels on the ground.
Tip: Make sure you have enough space and no shade. This helps you get the most solar energy.
Plan your installation well. This helps you avoid problems and get the most from your solar system.
Solar Inverter Installation Steps
![Solar Inverter Installation Steps]()
Site Assessment
You begin by checking the site before installing the solar inverter. This helps you avoid mistakes and makes sure your system works well. First, look at the roof and see if it is strong. Check for any weak spots or damage. Next, see how much sunlight the roof gets. Look for shade from trees or buildings. Measure the slope and direction of the roof. South-facing roofs get the most sun. Make sure there is enough space for all the panels you want to install. Watch out for things that block sunlight. Make sure the roof can hold the weight of the panels and inverter. If you skip this step, your solar system may not work right.
Tip: Use a sunlight meter or solar pathfinder to check for shade at different times of the day.
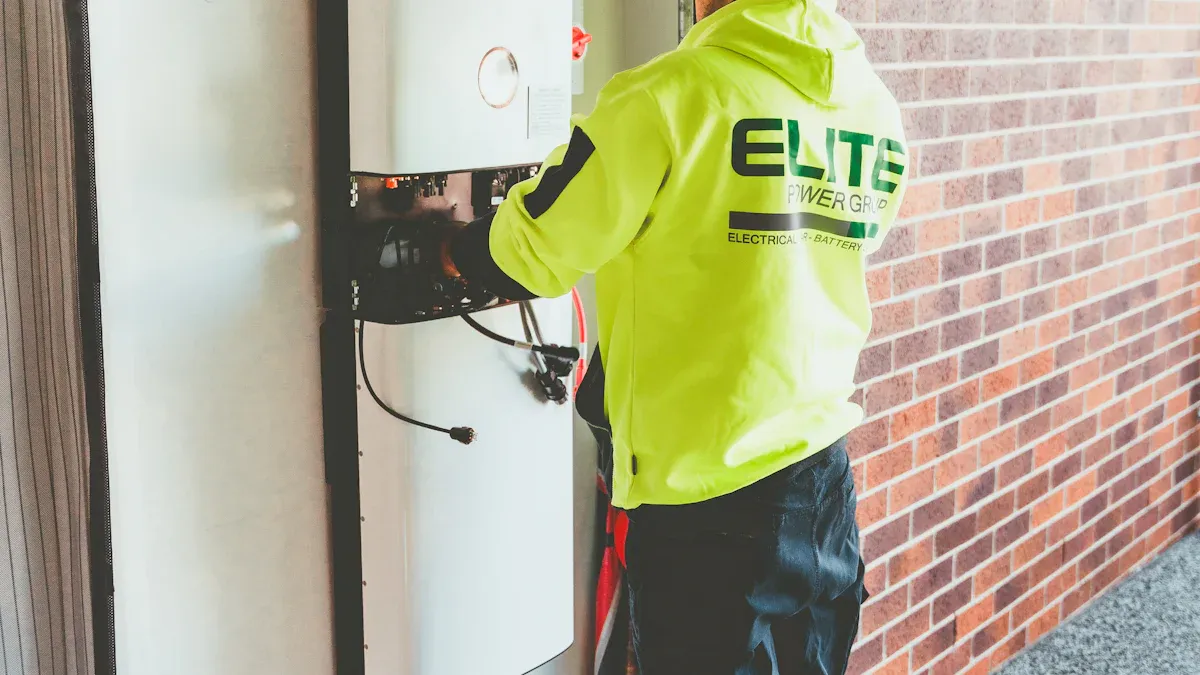
Mounting the Inverter
Mounting the inverter is an important part of the process. You want to keep the inverter safe and cool. It should be easy to reach. Attach a piece of plywood to the wall for a strong base. Put the inverter away from sunlight, heat, and bad weather. Do not put it on a wall next to bedrooms or living rooms. Follow all local and national rules. Leave space around the inverter for air to flow. Pick a spot where you can reach the inverter for checks or repairs. Choose a supplier with good service and reviews. Make sure you can replace the inverter safely if needed. If you put the inverter in a hot or tight spot, it may overheat and stop working. Do not put it where rain or snow can get to it. Use strong anchors and check the wall can hold the inverter’s weight.
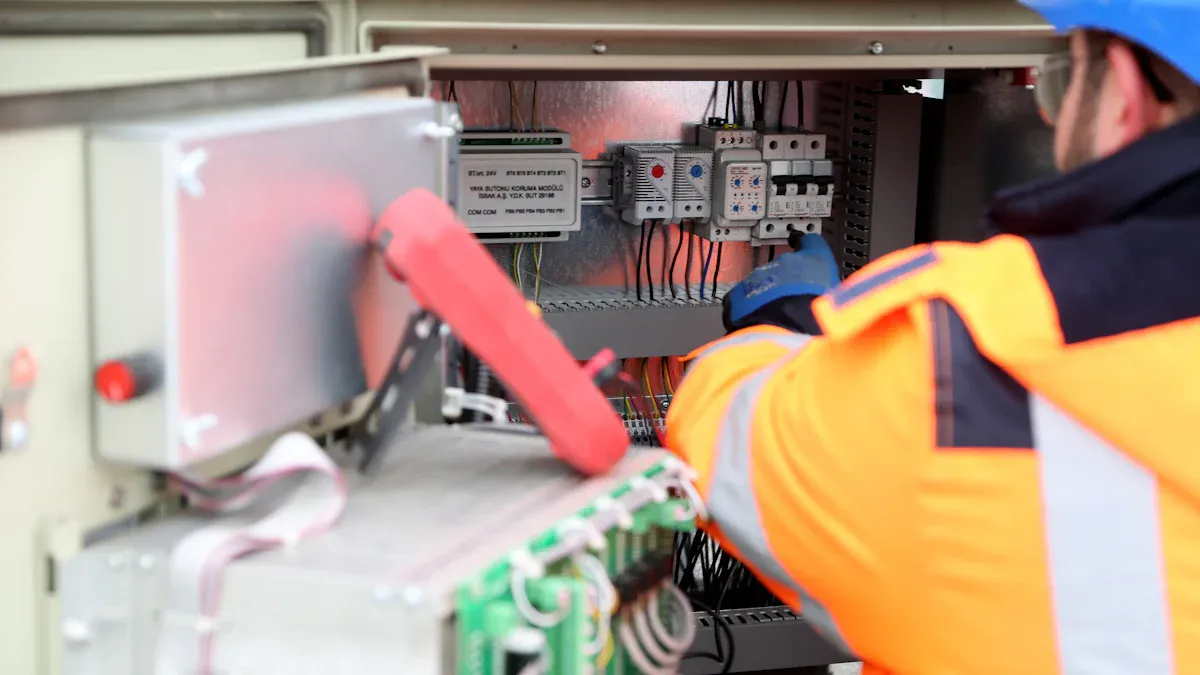
Wiring Connections
Wiring connects the solar panels, inverter, and sometimes batteries. Safe wiring is very important for every installation. Double-check the polarity with a multimeter before you connect wires. This stops damage to the inverter. Use MC4 connectors and make sure they click tight. Loose connections waste power. Put cable glands at entry points to keep water out. Secure wires with zip ties that resist sunlight. This stops stress on connectors. Add an isolator switch for safety. You can turn off the system fast if needed. Use the right size wires. Wires must handle the power and keep voltage drop low. Use protection devices rated at 125% of the circuit’s max current.
Note: Keep wires short and use the right thickness. Long or thin wires waste energy and can get too hot.
People often make mistakes here. They may use the wrong wire size or connect wires backward. Always check your work before you turn on the system.
Grounding and Safety
Grounding keeps you and your equipment safe from electrical faults. You must follow strict safety rules when installing the solar inverter. Connect all metal parts to the main earthing terminal. Use a single grounding point to stop ground loops. Bond all metal frames and supports together. Make sure the grounding wire is tight and not rusty. If you skip grounding, you could get shocked or start a fire.
Safety Alert: Always turn off the main power before you work on the inverter or wiring.
Grid or Battery Connection
Connecting your solar inverter to the grid or battery is the last step. Follow these steps for a safe and good installation. First, connect the charge controller to the batteries. Use copper wire and match the terminals. Next, connect the charge controller to the solar panels. Use MC4 connectors for a tight fit. Then, connect the battery to the inverter. Use thick battery cables and check for fuses or breakers. If you connect to the grid, follow your utility’s rules. Use a certified installer if you are not sure. Always check for correct polarity and tight connections.
Tip: Do not skip the final check. Test all connections before you turn on the system.
Common Mistakes to Avoid
People make mistakes during installation. Here are some common errors and how to avoid them. Do not pick the wrong size inverter. Work with a qualified installer to choose the right size. Do not put the inverter in a hot or wet spot. Keep it cool, dry, and shaded. Only use installers with the right certificates and experience. Do not skip regular checks. Plan yearly inspections to keep your system working well. Use short, thick wires to stop energy loss.
Remember: Careful planning and following each step helps you get the most from your solar power inverter.
If you follow these steps, your solar inverter installation will be safe and work well. You protect your system and enjoy solar energy for a long time.
System Testing and Commissioning
![System Testing and Commissioning]()
Initial Power-Up
You have finished the solar inverter installation. Now, you need to power up the system for the first time. This step checks if your panels, inverter, and all connections work together. Follow these steps for a safe start:
Inspect all mechanical and electrical parts. Look for loose wires or damaged parts.
Make sure every DC and AC connection is tight and secure.
Check the earthing system. Good grounding protects you and your equipment.
Turn on the main breaker. Then, power up the inverter as your installer’s manual describes.
Watch the inverter’s display for any error codes or warnings.
Tip: Always keep a fire extinguisher nearby during the first power-up.
Performance Checks
After you turn on the solar power inverter, you need to check if the system works as planned. Your installer should set up a monitoring system. This lets you track how much energy your panels make. Use the table below to see what to check:
| Performance Metric | Description |
| Real-time power output (kW) | Shows how much power your solar system makes right now. |
| Daily/cumulative energy production (kWh) | Tells you how much energy your panels have made over time. |
| System voltage (V) and current (A) | Shows if your inverter and panels work well together. |
| System efficiency (%) | Good inverters turn 90-95% of sunlight into electricity. |
| Grid connection status and net consumption | Lets you see if your system connects to the grid and how much energy you use or send back. |
If you see low numbers or errors, ask your installer to check the system.
Safety Verification
You must check safety before you finish the installation process. Your installer should:
Review the design and make sure it matches the plans.
Inspect the mounting and cabling for quality.
Test the system for insulation, continuity, and correct polarity.
Measure the energy yield and compare it to what you expect.
Check grounding to prevent electrical faults.
Test circuit breakers and fuses.
Make sure the system meets local grid rules.
Note: A good installer will give you all reports and show you how to use your new solar system.
You can now enjoy clean energy from your panels. Regular checks keep your solar inverter installation safe and efficient.
Troubleshooting and Best Practices
Common Installation Errors
You might see some common mistakes when you install a solar inverter. Knowing about these mistakes helps you stop problems and keep your system working.
If there is no power, cables might be loose. Fuses can blow or the grid might disconnect. Sometimes, the battery or controller stops working.
Bad airflow can make the inverter too hot. Dust or mess near the inverter blocks air from moving.
Parts inside the inverter can break as they get old.
Messy wires can cause overheating. This can even start a fire.
If your inverter is too small, it cannot power big devices.
| Installation Error | Typical Cause |
| Poor Equipment Layout | Inverter is placed in a tight or awkward spot |
| Overheating | Dust or mess blocks air from moving |
| Internal Component Failure | Old parts like capacitors and circuit boards |
Tip: Keep the area around your inverter clean. Always check cables after you finish installing.
Diagnosing Issues
You can fix most problems if you look carefully. Start by looking at the system. Check for loose wires, broken cables, or signs of too much heat. Look at the inverter’s screen for error codes. Codes like OV/UV, GFCI fault, or isolation fault can help you know what is wrong. These codes show if the grid voltage is bad, if wires are wrong, or if the inverter cannot find the grid.
Use this table to help you fix problems:
| Method | Diagnosis | Resolution |
| Visual Inspection | Loose wires, broken parts, or overheating | Tighten or change parts if needed |
| Check Indicators | Error codes on the inverter’s screen | Read the manual and follow the steps |
| Monitor Output | Low voltage or current | Find the problem and fix it |
| Inspect Battery/DC Input | Battery is low or wires are bad | Charge or change the battery, fix wires |
| Review System Logs | Same errors happen again and again | Update software and fix problems |
Note: If you cannot fix the problem, ask your installer or call the manufacturer’s help team.
Best Practices for Solar Power Inverter
You can keep your solar inverter working well if you follow good habits. Look at and clean your panels and inverter every day. This stops small problems from getting worse. Check fans and heat sinks every month to keep things cool. Watch your system’s numbers often. This helps you see if something is wrong early.
| Best Practice | Description |
| Daily Inspection and Cleaning | Check for dirt, dust, or damage on panels and inverter |
| Cooling System Maintenance | Clean fans and heat sinks once a month |
| Performance Monitoring | Use digital tools to watch output and find problems |
| Spare Parts Management | Keep extra fuses and cables for quick fixes |
Remember: A good installer will teach you how to use monitoring tools and explain what to do in an emergency. Taking care of your system often keeps your solar power inverter safe and working well.
![wiring inverter]()
Maintenance and Monitoring
Routine Inspections
You need to check your solar system often. These checks help you find problems early. They also keep your panels safe. Look at your system every few months. Use this table to help you know what to do:
| Inspection Task | Description |
| Visual Inspections | Look for cracks or dirt. See if anything blocks sunlight from your panels. |
| Electrical Connection Checks | Check MC4 connectors and wires for damage. Make sure wires are tight. This stops danger. |
| Performance Monitoring | Watch how much energy your system makes. This helps you see if power drops fast. |
| Maintenance Record Keeping | Write down when you check your system and what you find. Good notes help with warranty and planning. |
Tip: Clean your panels often. Dust and leaves block sunlight and lower your energy.
Monitoring Tools
You can use tools to watch how your solar system works. These tools show you data right away. They help you plan when to fix things. Many apps let you see how much energy your panels make. They send alerts if something is wrong, like an inverter fault or low power. Solar monitoring systems collect data and show it on easy dashboards. You can check how much energy you make and use. You can also see if your inverter works. Power meters give you exact numbers for voltage and current. Some systems work with building automation. You can control everything from one place.
Monitoring apps show energy and send alerts for problems.
Solar monitoring systems track energy and inverter status.
Power meters help you find problems with panels or the inverter fast.
Note: Pick a tool that is easy to use. You want to check your system from your phone or computer.
When to Call a Professional
Sometimes you need expert help to keep your solar system safe. Call a professional if error codes do not go away after you try to fix them. If you see cracks or smell something strong, get help right away. Ground faults or electrical problems can be dangerous. If many parts break, you need a trained technician.
Error codes that stay after you try to fix them
Damage you can see or strong electrical smells
Ground faults or electrical problems
Many parts fail at once
Safety Alert: Never try to fix big electrical problems yourself. A professional keeps your system safe and working.
You can make your solar installation safe and work well if you follow these steps:
Get your roof ready and put up the equipment.
Connect wires carefully and follow the National Electrical Code.
Test your system often and watch how it works.
Plan yearly checkups to keep your system running.
Always use the right tools and keep the inverter away from things that can catch fire. A trained solar installer helps you avoid mistakes and saves money when you install a solar inverter.
| Safety Tip | Description |
| Regular inspections | Look for damage and unsafe wires |
| Maintenance tasks | Clean panels and make sure connections are tight |
You can learn more in the Solar Energy Installation and Maintenance Guide. You can also look up solar jobs and certifications if you want a career in solar.
FAQ
How do you choose the right solar inverter for your home?
You should look at your roof size, sunlight, and energy needs. Compare inverter types. Ask a qualified solar installer for advice. Pick an inverter that matches your solar panels and fits your budget.
Can you install a solar inverter by yourself?
You can install a solar inverter if you follow safety rules and local codes. Read the manual and use the right tools. If you feel unsure, contact a qualified solar installer for help.
What maintenance does a solar inverter need?
You need to check wires, clean dust, and watch for error codes. Inspect your system every few months. Write down what you find. Use monitoring tools to track energy and spot problems early.
What should you do if your solar inverter shows an error code?
Check the manual for the meaning of the code. Inspect wires and connections. Restart the inverter if needed. If the problem stays, call a qualified solar installer for support.
How long does a solar inverter last?
Most solar inverters work for 10 to 15 years. You can make them last longer with regular cleaning and inspections. Replace old parts when needed. Watch your system’s performance to catch issues early.